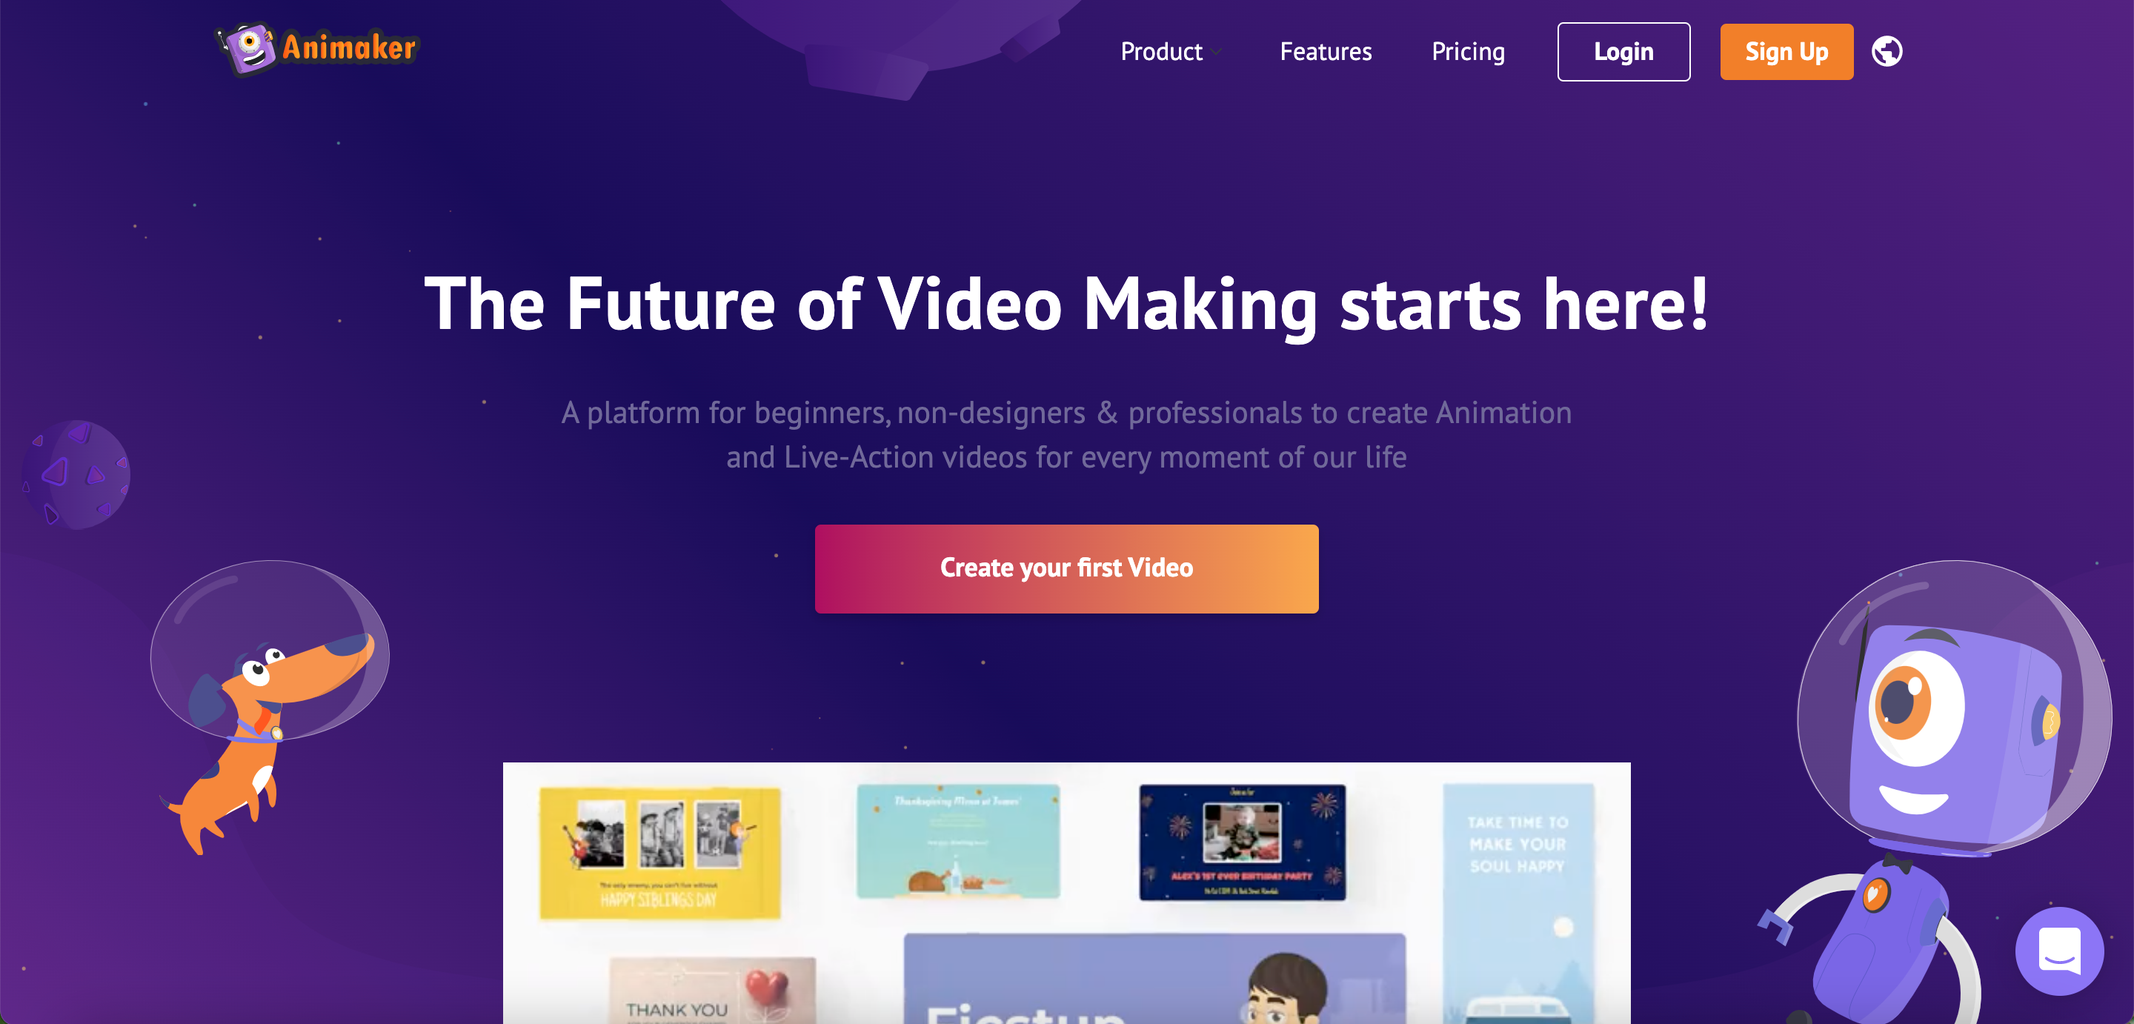
In today’s digital age, creating engaging and captivating content is crucial for businesses to stand out and connect with their audience. One effective way to achieve this is through animated videos. Animaker, a popular online animation tool, offers a user-friendly platform that allows individuals and businesses to create professional animated videos without the need for extensive technical knowledge. In this article, we will explore how to use Animaker to create compelling animated videos that captivate and leave a lasting impression on your viewers.
Introduction to Animaker
Animaker is an innovative cloud-based platform that provides a wide range of tools and features to create stunning animated videos. Whether you’re a marketer, educator, or content creator, Animaker offers a variety of templates, characters, and animations to bring your ideas to life. With its intuitive interface and drag-and-drop functionality, Animaker ensures that anyone can create visually appealing animated videos without the need for complex software or design skills.
Getting Started with Animaker
1. Signing Up and Logging In
To begin your Animaker journey, head over to their website at www.animaker.com and sign up for an account. The sign-up process is quick and straightforward, requiring only your email address and a secure password. Once you’ve registered, log in to your account and you’re ready to start creating animated videos.
2. Choosing a Video Type
Animaker offers various video types, each tailored to specific purposes such as explainer videos, social media ads, presentations, and more. Consider the objective of your video and select the appropriate video type to ensure that your content aligns with your goals.
3. Selecting a Template
After choosing a video type, Animaker provides an extensive collection of templates to choose from. These templates serve as a starting point for your video and provide a structure and visual theme that you can customize to suit your needs. Browse through the available templates, and select the one that best resonates with your message and brand.
4. Customizing Your Video
Once you’ve chosen a template, Animaker allows you to personalize every aspect of your video. From changing the background, adding text, inserting images or videos, to selecting characters and animations, the platform offers a wide range of customization options. Tailor your video to align with your brand’s colors, fonts, and overall style to create a cohesive and impactful visual experience.
5. Adding Audio
Audio plays a vital role in enhancing the impact of your animated video. Animaker allows you to add voiceovers, background music, and sound effects to bring your video to life. You can either upload your own audio files or choose from Animaker’s extensive library of royalty-free music and sound effects.
6. Animating Your Video
To make your video visually engaging, Animaker provides an array of animation effects and transitions. Use these effects strategically to highlight key points, transitions between scenes, or simply to add a touch of excitement to your video. Experiment with different animations to find the perfect balance that complements your content and keeps your viewers hooked.
7. Previewing and Publishing
Before finalizing your video, take advantage of Animaker’s preview feature to review your creation. Ensure that all elements are in place, the timing is right, and the overall flow of the video is seamless. Once you’re satisfied with the final result, it’s time to publish your video.


